This guide builds a complete workflow: a form collects a request, an AI agent summarizes it, and the summary is posted to Slack.
Prerequisites
- A role that lets you read and create workflows. If Workflows is missing from your product switcher, ask your administrator.
- A Slack connection under Settings → Integrations. Any other integration works for the example too.
1. Create a New Workflow
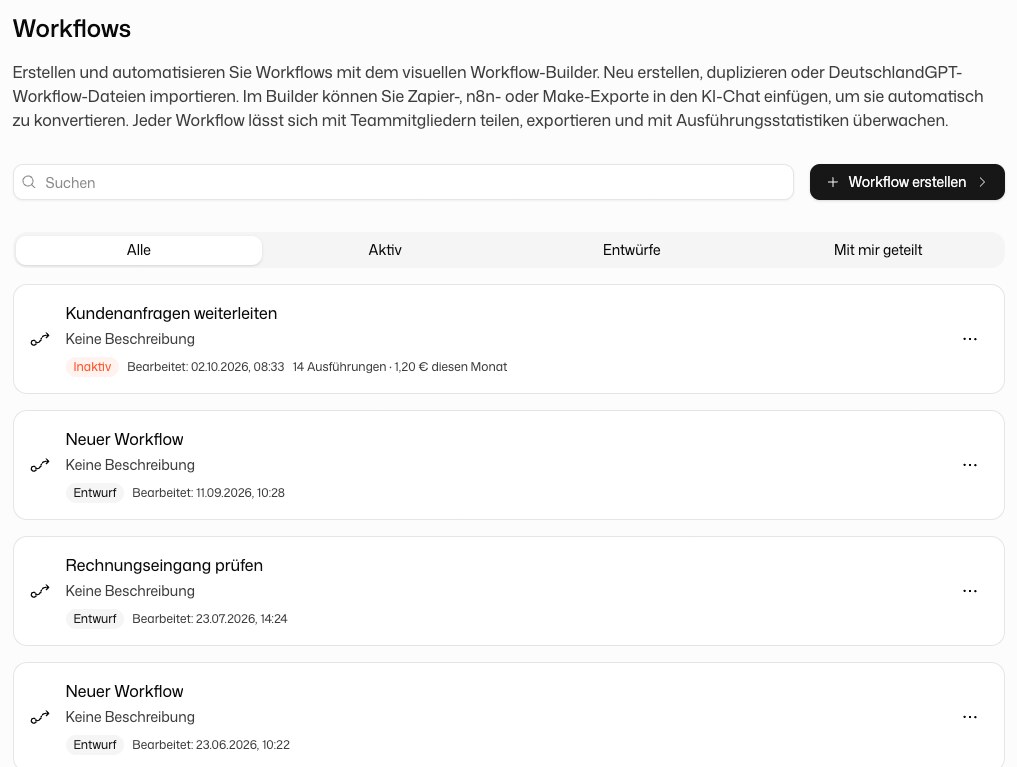
Open Workflows from the product switcher and click New Workflow. There is no dialog: a draft is created at once and the builder opens. Type a name into the Workflow name field in the header. Every change is saved automatically.
2. Add a Trigger
The empty canvas asks you to select a trigger:
- Integrations: start on an event in a connected service, such as a new email
- Scheduled: run on a schedule
- Manual: start it yourself
- Form: start when someone submits a form
- Webhook: start when an HTTP request reaches a unique URL
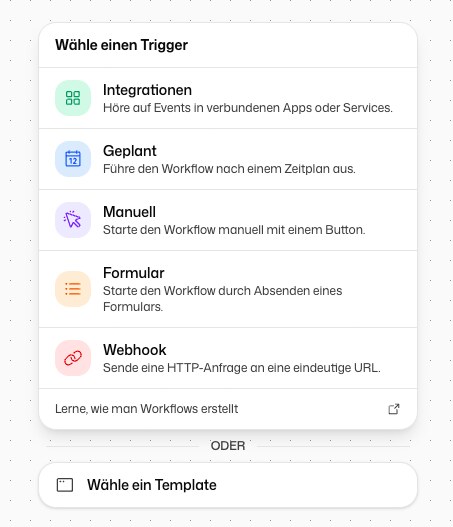
Choose Form. In the panel on the right, add two fields under Form Fields: a Text field with the key name and a Multiline text field with the key request.
Set Access Control as well. It starts at Private (Only owner), so only you can open the form. Choose Workspace (Members only) for colleagues who are signed in, or Public (Anyone) for everyone with the link.
A workflow has exactly one trigger. To accept input from several sources, build separate workflows and let each call a shared subworkflow.
3. Add an AI Agent
Click Add node at the bottom of the canvas. In the node picker, open Agents and select AI Agent.
Configure the agent in the panel on the right:
- Model: choose a model
- Task: describe the job and reference the form fields:
Review the following request from {{formTrigger.outputs.formData.name}} and draft a concise summary with recommended next steps:

{{formTrigger.outputs.formData.request}}
The part before .outputs is the node's variable name. It comes from the node's title when you add it, so it may differ in your workflow. The safest way to get it right is the Variables panel: click Insert next to a field, or drag it into the input.
4. Add a Slack Action
Add another node and open Integrations → Slack → Send Message.
- Connection: your Slack connection
- Channel ID: the target channel
- Text: the message, using the agent's output:
New request from {{formTrigger.outputs.formData.name}}:

{{aiAgent.outputs.result}}
5. Test the Workflow
Give the trigger some test data first. In the form trigger's panel, click Create form test data, fill in the form and confirm. The values are pinned to the trigger.
Then click Run test in the header. The arrow next to it offers two variants:
- Test (use test data): uses pinned data wherever a node has some, so pinned nodes are not run again
- Fresh test (ignore all data): ignores all pinned data and runs every node
The canvas shows the status of every node while the test runs. Click a node to see its inputs and outputs.
Test runs cost real money as soon as AI nodes are involved, and the Slack message is really sent. To save cost on repeated tests, pin the output of expensive nodes with Pin data.
6. Deploy the Workflow
Triggers only fire after you deploy a version. Until then the header shows Inactive until published.
Click Deploy. In the popover, choose whether the version number goes up by Patch, Minor or Major, enter a Description (required) and click Deploy version v…. The popover also lists the changes since the last version and the Previous versions, which you can restore.
After the first deployment, the switch in the header shows Active. Turn it off to pause all triggers without deleting anything.
What deploying does per trigger:
- Form: the form at
/workflows/<workflow ID>/formgoes live. The Form URL is shown in the trigger's panel. - Webhook: the Webhook URL in the trigger's panel starts accepting requests.
- Scheduled: the schedule starts.
- Manual: nothing changes. You run it with Run test in the builder.
7. Monitor Runs
Click History at the bottom of the canvas. The Execution history lists the runs of the last 90 days with status, duration and cost. Select one to see each node's inputs, outputs, log and errors. While you look at a past run, the canvas switches to read-only mode.
For figures over time, open the workflow's statistics from the card menu on the overview (Statistics). See Statistics.