Workflow runs are billed by what they actually consume: AI tokens, generated images and web searches. There is no fee per run, per node or per workflow. Costs are charged to your workspace's credit and shown in euros.
The Workflow Assistant (Chat)
The AI chat in the builder, which builds and edits workflows for you, is billed like the regular DeutschlandGPT chat: it counts against your licence. Its usage is not a workflow cost and does not appear in workflow statistics or count toward workflow budgets.
What Costs Money
| Resource | Billing basis |
|---|---|
| AI Agent | Tokens of all agent steps, plus the tools it calls |
| Image Generation | Per generated image, depending on the model |
| Web Search | Per search request, also when an agent searches |
| Conditions in AI Prompt mode | Tokens the AI uses to decide the condition |
| Inputs in AI Prompt or Auto mode | Tokens the AI uses to generate the input value |
No charge from DeutschlandGPT:
- HTTP Request, RSS Feed, Code, Delay
- Conditions with expressions, loops and subworkflow calls themselves
- Integration actions, data table nodes and secret store nodes
- Triggers
In most workflows the AI Agent is the main cost driver. Integrations that call a paid service with your own key, such as OpenAI, are billed by that provider to you.
How Costs Are Calculated
Each AI call records its input and output tokens:
cost = inputTokens × price per input token + outputTokens × price per output token
Prices depend on the model; larger models cost more per token than smaller ones.
Subworkflow Costs
Costs that arise inside a subworkflow count toward the run that called it. A parent run's total includes all nested subworkflow calls.
Viewing Costs
- Per run: the execution history in the builder shows the cost of each run.
- Per workflow: the workflow's statistics show cost per day, Token usage by model and the most recent runs.
- Across workflows: Workflows → Statistics lists cost per workflow for a period you choose.
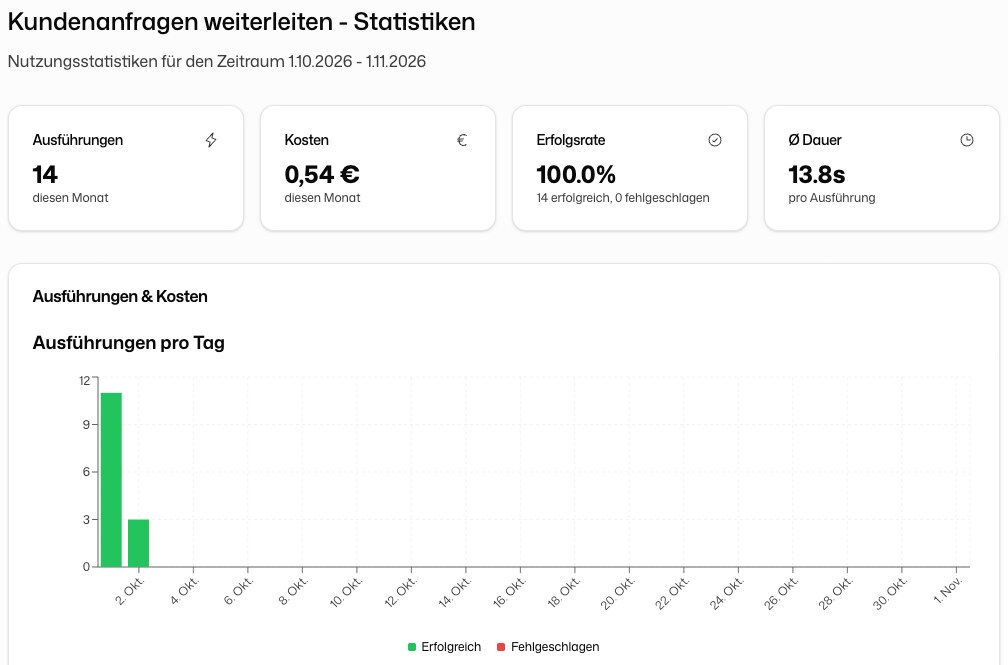
See Statistics for details.
Budget Controls
Three levels limit what workflows can spend:
| Level | Where | What it limits |
|---|---|---|
| Workflow | Workflow settings in the builder | Cost per month (default €50) and per execution (default €5), runs per month and per day |
| Organization | Budgets & Limits in the Workflows sidebar | A ceiling for every workflow's monthly limit, and a total monthly budget for all workflows (default €1,000) |
| Workspace | Platform API billing | Credit balance, monthly spending limit, low-credit notifications and auto top-up |
What happens when a limit is reached:
- Monthly cost, monthly or daily runs, total budget: new runs are refused until the period ends or someone raises the limit. Runs already in progress continue.
- Cost per execution: the run that crosses the limit is stopped mid-run.
Refused and stopped runs appear as failed in the history, with the limit as the reason. Only a run stopped by the cost per execution triggers a failure email; refused runs do not, because nothing ran.
Cost Optimization Tips
Choose the model to fit the task. Classification, extraction and routing rarely need the largest model.
Lower Max. steps. The AI Agent's Max. steps caps how often it can loop.
Pin data while testing. Pinned outputs replace expensive nodes in test runs. See Testing and Pinned Data.
Use Code for fixed logic. Filtering, sorting and calculations in a Code node cost nothing.
Cache results in a data table. If a workflow analyzes the same input repeatedly, store the result and check the table before calling the AI again.